
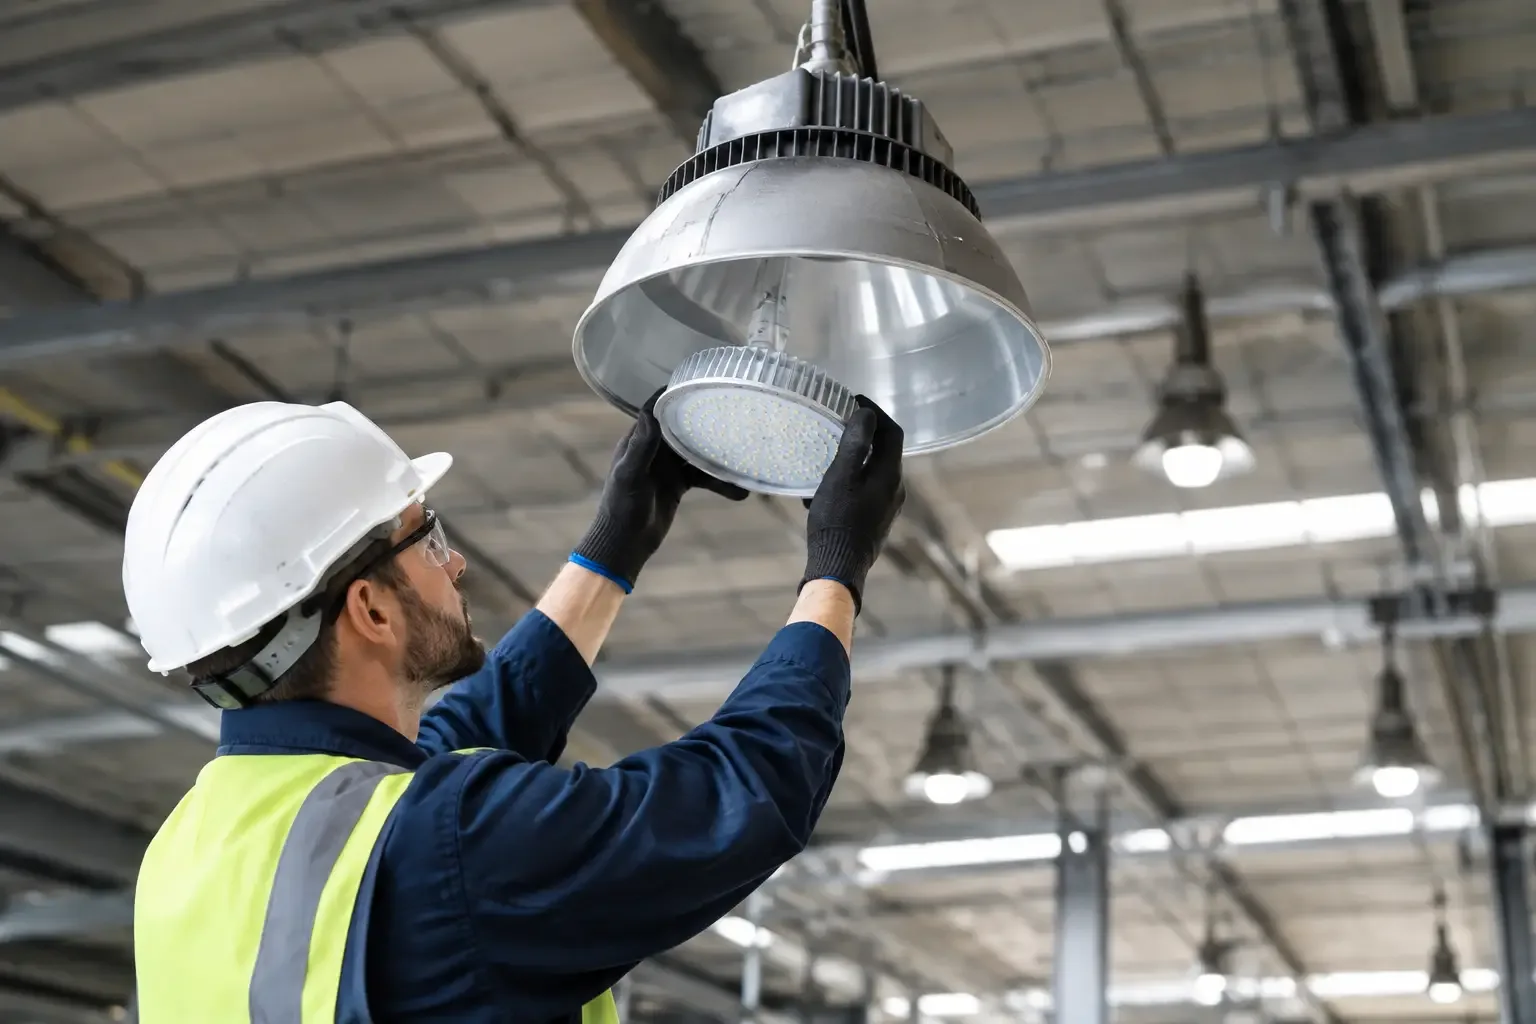
A 400-watt metal halide high bay that takes several minutes to restrike is more than an energy expense. In a loading area, production bay, or maintenance aisle, it can leave operators working with uneven visibility after a momentary power interruption. Knowing how to retrofit industrial HID fixtures starts with treating the work as an electrical, photometric, thermal, and compliance decision - not simply a wattage swap.
At Maes Lighting, we have found that the best HID-to-LED projects begin with fixture condition and site classification, then move to light levels and controls. That sequence prevents a common failure: selecting an LED retrofit that saves watts but creates dark task areas, invalidates a required listing, or fails early in heat, washdown, vibration, or corrosive exposure.
Start With the Existing HID System
Document every fixture family before ordering equipment. Record the lamp type, rated wattage, mounting height, lens condition, voltage, branch-circuit arrangement, control method, and ambient conditions. Common industrial HID systems include metal halide, high-pressure sodium, and pulse-start metal halide fixtures ranging from 175 watts to 1,000 watts.
Do not assume the lamp wattage tells the whole electrical story. A 400-watt metal halide system can draw substantially more input power after ballast losses. Conversely, an LED replacement’s published wattage does not confirm equivalent usable illumination. Optical distribution, mounting height, fixture spacing, reflectance, dirt depreciation, and the location of the task plane determine whether the retrofit performs as intended.
Inspect the housing and electrical compartment closely. Corroded hinges, degraded gaskets, cracked refractors, water intrusion, damaged sockets, and brittle conductors are warning signs that retaining the old enclosure may be false economy. In high-bay spaces, a new purpose-built LED fixture is often safer and faster to service than rebuilding an aging HID housing at elevation.
Decide Between a Retrofit Kit and Fixture Replacement
A retrofit kit retains part of the existing luminaire, typically the housing and mounting structure, while replacing the HID lamp, ballast, and often the optical assembly with LED components. Full fixture replacement removes the existing luminaire and installs a listed LED high bay, floodlight, vapor-tight fixture, or hazardous-location fixture designed as a complete system.
A kit can be a practical option where housings are structurally sound, mounting changes are difficult, and the retrofit assembly is specifically evaluated for that host fixture. It may preserve a custom mounting arrangement or reduce disruption in a facility with hundreds of identical high bays.
Full replacement usually makes more sense when the HID fixture has poor optics, a compromised environmental seal, outdated wiring, or an unsuitable thermal path. It also provides a cleaner path to modern controls, surge protection, rated ambient-temperature performance, and documented photometry. For a warehouse with clean, moderate conditions, either path may work. For a steel mill bay, marine deck, washdown room, or chemical process area, fixture replacement is frequently the more defensible specification.
Never Treat a Hazardous Location as a Standard Retrofit
In classified areas, the fixture marking governs the decision. A general-purpose LED retrofit kit cannot be installed inside a Class I, Division 1 enclosure simply because the physical dimensions fit. The completed assembly must remain suitable for the identified hazardous location, including the gas group, temperature code, division or zone, and ambient temperature.
This distinction matters in refineries, pump stations, grain handling operations, paint areas, and facilities with combustible dust. The National Electrical Code classification is based on the specific hazard and likelihood of its presence. Class I addresses flammable gases or vapors; Class II addresses combustible dust. Division 1 and Division 2 describe different exposure conditions, while Zone classifications use a separate framework that may appear on global equipment documentation.
When an existing hazardous-location HID fixture reaches end of life, replacing it with a properly marked LED unit is often the lower-risk path. Verify the nameplate, installation instructions, certificate documentation, and the facility’s area-classification drawing. For third-party safety evaluation, review the applicable information from UL or Intertek and confirm that the exact catalog configuration carries the required marking. “Explosion-proof” is not a generic durability claim. It is a specific construction and certification matter.
Build the LED Specification Around the Application
The goal is not to match HID watts. The goal is to deliver appropriate maintained illumination where people inspect, assemble, operate, travel, and perform maintenance. A lighting layout should account for mounting height, row spacing, obstructions, rack geometry, ceiling color, and the light-loss conditions expected between cleanings.
For example, a 400-watt metal halide fixture in a 30-foot warehouse may be replaced by an LED high bay drawing roughly 150 to 200 watts, but the final selection depends on distribution. A narrow aisle optic can place light down the travel path while reducing spill into rack tops. A broad distribution may be better over open staging or packaging areas. A one-for-one replacement without photometric review can produce bright spots under fixtures and unacceptable shadowing between them.
Color temperature and color rendering also affect usable visibility. Many industrial operations select 4000K or 5000K LED lighting, but the preference should follow the task, surface colors, inspection requirements, and workforce comfort. For quality inspection, printing, labeling, and food packaging, higher color rendering may justify a modest premium.
Account for Heat, Dirt, Moisture, and Chemicals
LED drivers and arrays must shed heat to maintain life and output. Do not specify an ambient-temperature rating based solely on normal room conditions if fixtures sit above ovens, near roof heat, or over process equipment. In a mill or furnace-adjacent bay, the air around the fixture can be much hotter than the temperature measured at floor level.
High ambient heat accelerates driver stress and can reduce LED output through thermal derating. A fixture rated to 131°F may be unsuitable where summer roof temperatures or process heat exceed that limit. The same principle applies to cold storage, where drivers, gaskets, and startup characteristics need evaluation for low-temperature operation.
Ingress protection is equally application-specific. Dusty fabrication areas may need sealed optics and easier cleaning. Food and beverage facilities may require washdown-ready construction, corrosion-resistant materials, and an IP66 or IP69K rating depending on cleaning methods. Where food-zone requirements apply, buyers should distinguish between NSF/ANSI 2 and NSF/ANSI 51 requirements with the sanitation team and verify current product documentation through NSF. A vapor-tight fixture that survives occasional moisture is not automatically appropriate for high-pressure, high-temperature washdown.
Plan the Electrical and Controls Work
A qualified electrician should de-energize, lock out, and verify the circuit before opening any HID fixture. Remove or bypass the HID ballast only as directed by the LED retrofit manufacturer. Leaving an incompatible ballast in circuit can create flicker, reduced life, overheating, or immediate failure.
Confirm branch voltage and available fault current, especially in older facilities with mixed 277/480-volt and 120/208-volt distribution. Check conductor condition, grounding continuity, mounting integrity, and junction-box fill. Add surge protection where the facility experiences switching transients, large motor loads, utility disturbances, or outdoor exposure.
Controls deserve the same discipline as the luminaires. Occupancy sensors, daylight harvesting, scheduling, and networked controls can increase savings, but only if they suit the operating pattern. A sensor timeout that shuts off an aisle during infrequent forklift traffic creates a safety problem. In hazardous locations, controls and accessories must be approved for the location or installed outside the classified boundary as permitted by the design.
Verify Performance Before Repeating the Design
Pilot a representative area before converting an entire plant. Measure illuminance at task level, observe glare from normal work positions, verify sensor behavior, and ask maintenance staff whether access and cleaning are practical. This is especially valuable in facilities replacing multiple HID types with a limited number of LED models.
A practical example is a fabrication plant converting 1,000-watt metal halide floodlights over crane-served work cells. The initial LED option may provide more center brightness but create glare for crane operators looking upward. Changing the optic, aiming, mounting position, or lumen package can solve the problem without increasing wattage. That correction is inexpensive during a pilot and costly after a site-wide installation.
Keep the closeout package organized. It should include cut sheets, photometric files, installation instructions, warranty information, listing documentation, control schedules, and final fixture locations. Those records help electrical inspectors, safety teams, maintenance departments, and future project managers understand exactly what was installed.
A successful HID retrofit leaves the facility with more than lower energy use. It gives operators dependable instant-on illumination, maintenance teams fewer elevated service calls, and project stakeholders a documented lighting system that matches the actual operating environment.